Start at the bottom
and your done :)
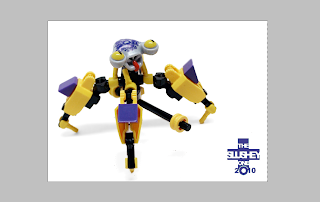
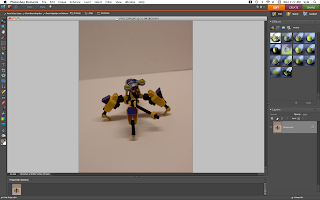
now you can freely move and crop the subject

double click the layer "background" and change it to layer 0
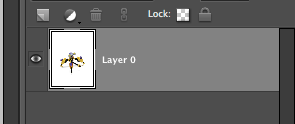
next grab the blur tool and set it at its highest setting, and run over the shadow a few timesdouble click the layer "background" and change it to layer 0

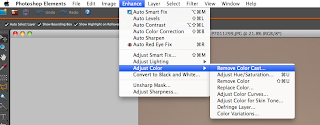
and set to around +40 brightness, and +100 contrast
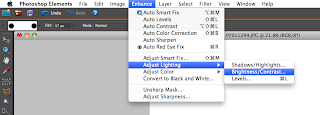
go enhance>adjust lighting>brightness/contrast

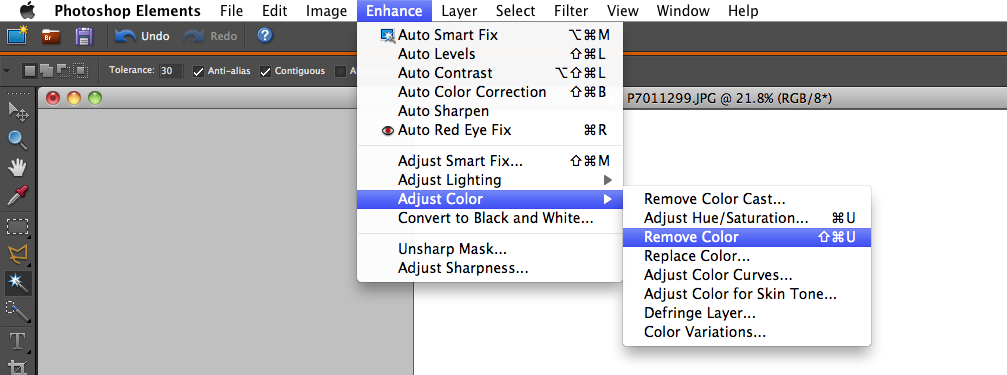
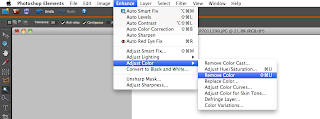
... or doctor it to look, well, like a shadow. go to enhance>adjust color>remove color
next select the shadow, and ether delete it...
next select the shadow, and ether delete it...
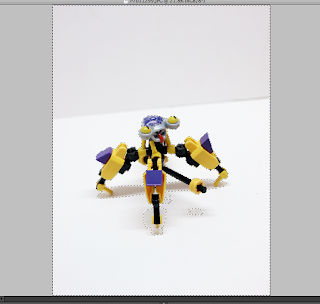
next grab the magic wand and set the settings to around 30-40 tolerance, and grab anything that you want to be white, and make it white (or whatever color that you want) by ether deleting it, or paint brushing it!

I usually tweak anywhere from +30 to +100, depending on how much light is on the subject. (remember this is
NOT to make your background white, it is to make the subject look good!
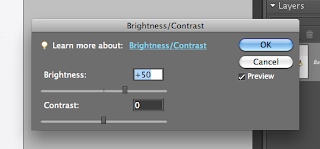
Next, tweak the brightness by going enhance>adjust lighting>brightness/contrast
tweak the settings around until your happy, I go with +100 +100 -2 +70-90, than save your changes
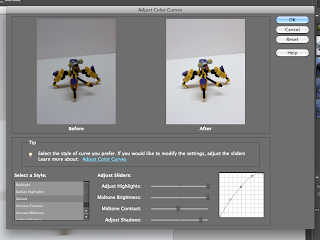
Next, adjust the curves by going to enhance>adjust color>adjust color curves

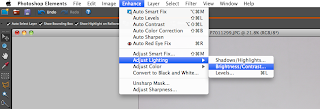
Select enhance>adjust color>remove color cast, and than click anywhere on your backround. then click O.K. to save changes
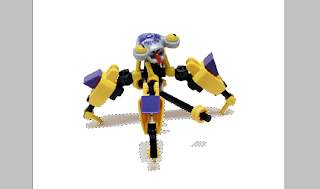
grab your photo, in other words open it in photoshop

open iphoto, or whatever photo application you use
open photoshop
start here^