Sunday, November 21, 2010
Friday, November 19, 2010
Sunday, September 19, 2010
Saturday, September 18, 2010
Tuesday, September 14, 2010
Monday, September 13, 2010
I biwd VOTL
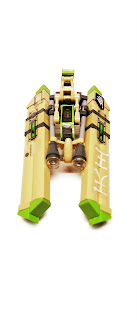
I bulded double bladed heli, its sick dawg! I need a camera now, to take some sick pics! Oh yeah I built a alien suit too, stay posted guys, and pray that I get a camera freaking soon, I'm going insane! BLAAARGHHHHHH-WAHHHHHHHHH
Thursday, September 2, 2010
Wednesday, August 4, 2010
Tuesday, August 3, 2010
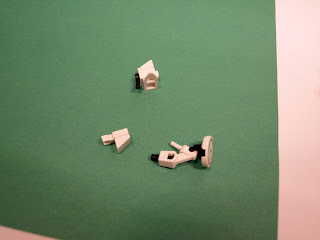
huge spiders
There in my legos, scaring the shit outta me.
on on an other note, I think the blogs gonna be more life oriented, with posts like these
on on an other note, I think the blogs gonna be more life oriented, with posts like these
Monday, August 2, 2010
inactivity, and other stuff
sorry, I haven't used the blog for a while, but I'm gonna try to get back blogging, new stuff is on the way (six wheeled trucks, and spaceships), so just you wait!
Sunday, July 25, 2010
Thursday, July 15, 2010
Wednesday, July 14, 2010
How to edit photos
Start at the bottom
and your done :)
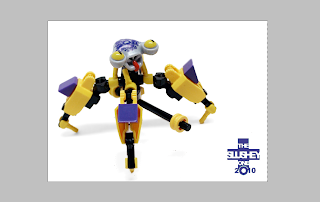
now you can freely move and crop the subject

double click the layer "background" and change it to layer 0
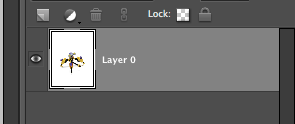
next grab the blur tool and set it at its highest setting, and run over the shadow a few timesdouble click the layer "background" and change it to layer 0

and set to around +40 brightness, and +100 contrast
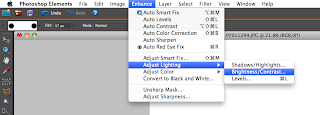
go enhance>adjust lighting>brightness/contrast

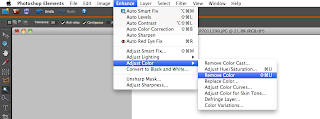
... or doctor it to look, well, like a shadow. go to enhance>adjust color>remove color
next select the shadow, and ether delete it...
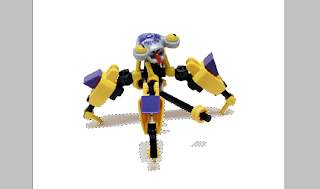
next select the shadow, and ether delete it...
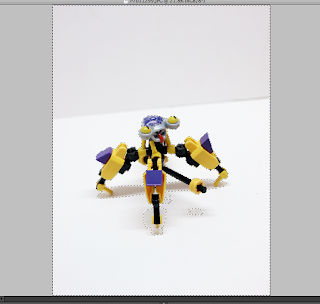
next grab the magic wand and set the settings to around 30-40 tolerance, and grab anything that you want to be white, and make it white (or whatever color that you want) by ether deleting it, or paint brushing it!

I usually tweak anywhere from +30 to +100, depending on how much light is on the subject. (remember this is NOT to make your background white, it is to make the subject look good!
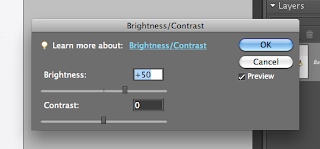
Next, tweak the brightness by going enhance>adjust lighting>brightness/contrast
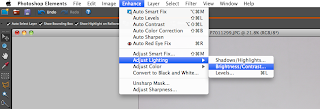
tweak the settings around until your happy, I go with +100 +100 -2 +70-90, than save your changes
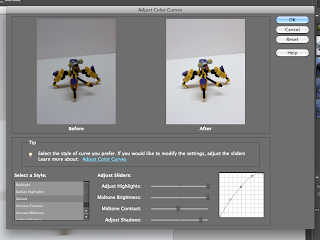
Next, adjust the curves by going to enhance>adjust color>adjust color curves

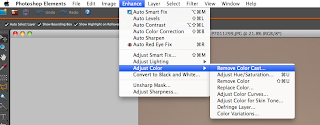
Select enhance>adjust color>remove color cast, and than click anywhere on your backround. then click O.K. to save changes
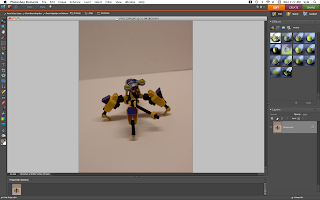
grab your photo, in other words open it in photoshop

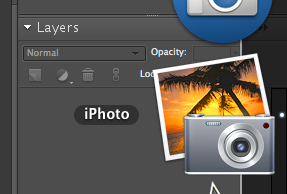
open iphoto, or whatever photo application you use
open photoshop
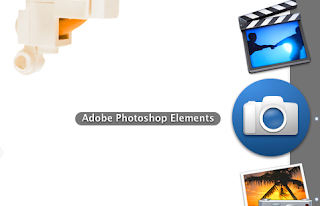
start here^
and your done :)

now you can freely move and crop the subject

double click the layer "background" and change it to layer 0

next grab the blur tool and set it at its highest setting, and run over the shadow a few timesdouble click the layer "background" and change it to layer 0

and set to around +40 brightness, and +100 contrast

go enhance>adjust lighting>brightness/contrast

... or doctor it to look, well, like a shadow. go to enhance>adjust color>remove color

next select the shadow, and ether delete it...

next select the shadow, and ether delete it...

next grab the magic wand and set the settings to around 30-40 tolerance, and grab anything that you want to be white, and make it white (or whatever color that you want) by ether deleting it, or paint brushing it!

I usually tweak anywhere from +30 to +100, depending on how much light is on the subject. (remember this is NOT to make your background white, it is to make the subject look good!

Next, tweak the brightness by going enhance>adjust lighting>brightness/contrast

tweak the settings around until your happy, I go with +100 +100 -2 +70-90, than save your changes

Next, adjust the curves by going to enhance>adjust color>adjust color curves

Select enhance>adjust color>remove color cast, and than click anywhere on your backround. then click O.K. to save changes

grab your photo, in other words open it in photoshop


open iphoto, or whatever photo application you use

open photoshop

start here^
Labels:
editing,
help,
help for editing lego MOCs,
in photoshop,
kyle,
LEGO,
lightbox,
One,
photoshop,
Slushey,
the,
the slushey one,
tutorial
Tuesday, July 13, 2010
Monday, July 12, 2010
Saturday, July 10, 2010
Thursday, July 8, 2010
Wednesday, July 7, 2010
Sunday, July 4, 2010
Saturday, July 3, 2010
Friday, July 2, 2010
Thursday, July 1, 2010
Wednesday, June 30, 2010
Tuesday, June 29, 2010
Monday, June 28, 2010
Subscribe to:
Comments (Atom)


